


Are you looking for a way to replace your garage door springs? Replacing the garage door springs can be a daunting task, but it doesn’t have to be. With the right tools and knowledge, you can easily replace your garage door springs in just a few steps. This blog post will provide a step-by-step guide on how to replace your garage door springs, so you can have your garage doors springing back into action in no time!
Assess the problem.
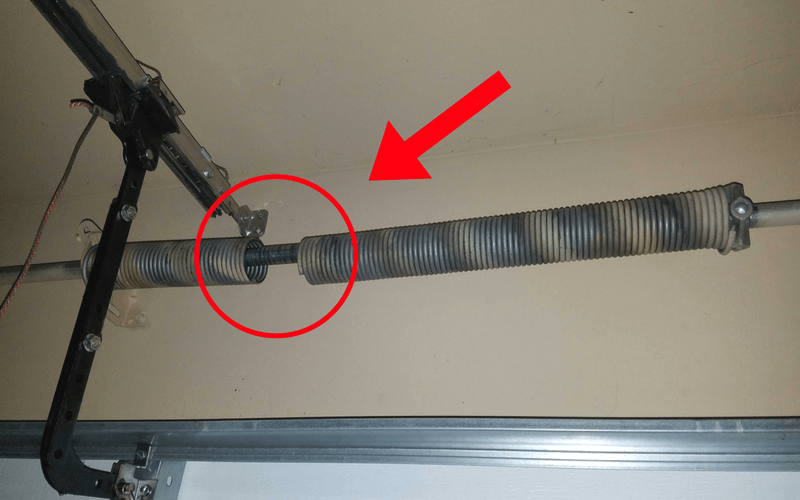
Before you begin a garage door spring installation, it’s important to take the time to assess the problem. If you notice that the springs are broken or frayed, it’s likely time for a replacement. You can also check for other signs that the springs need to be replaced, such as squeaking or difficulty opening and closing the door. Additionally, if the door is off balance or appears to be sagging on one side, this could be a sign that the springs need to be replaced. Taking the time to assess the problem before you begin your garage door spring installation will help ensure that the process runs smoothly.
Gather your tools and materials.
When you are preparing for a garage door spring installation, it is important to have the correct tools and materials for the job. Depending on the type of door spring you need to install, the tools and materials required may vary. For example, if you are installing torsion springs, you will need to have a winding bar, sockets, and pliers. If you are installing extension springs, you will need safety cables, locking pliers, pliers, and a ladder. In addition to the necessary tools, you will also need to have the right type of garage door spring for your door, including the right length and weight of the springs. Make sure to double-check all of your supplies before beginning the installation process.
Follow the manufacturer’s instructions.
When replacing garage door springs, it is important to follow the manufacturer’s instructions carefully. This will ensure that the installation is completed correctly and safely. Before beginning the installation, read all of the instructions thoroughly and make sure that you understand each step before proceeding.
The first step in garage door spring installation is to disconnect the power source from the garage door. This is important for your safety, as the springs can be very powerful when released. Once the power is disconnected, remove the old springs and measure them to determine what type of replacement spring you need.
Next, instal the appropriate hardware, such as brackets, cables, and clamps. Once these items are secured in place, attach the new springs. Ensure that they are connected securely and properly balanced, so that when the door opens, it does not fall too quickly or too slowly.
Finally, attach the pulleys to the springs and secure them firmly. Then, reconnect the power source and test the door to ensure that it opens and closes properly. If it does not, adjust the tension of the springs until it does. Once the door is working properly, you have completed your garage door spring installation.
Install the new springs.
Once you have gathered all the necessary tools and materials and followed the manufacturer’s instructions, it is time to instal the new springs. You should always follow the instructions provided by the manufacturer for garage door spring installation, as every garage door is different.
For most garage door springs, the process will involve attaching one end of the spring to an upper bracket, threading the opposite end of the spring through a pulley, attaching it to a lower bracket, and then tensioning the spring until the correct tension is achieved. It is important to wear safety glasses during this step of the garage door spring installation process to protect your eyes from any potential accidents that may occur.
Once you have completed the garage door spring installation process, test the door to make sure that it opens and closes properly. If you find that it does not open or close properly, adjust the tension in the springs until it works correctly. When you are satisfied with the door’s performance, you can go ahead and close it.
Test the door.
Once you have successfully completed the garage door spring installation, it is important to test the door. Start by opening the door manually and listening for any unusual noises. If all seems okay, close the door and use the opener to open and close the door several times. Pay attention to any strange sounds, jerky movements, or unexpected closures. If everything appears to be working correctly, you can now move on to lubricating the moving parts of the garage door opener. Congratulations! Your garage door spring installation is complete.
Contact Us!


